Showing posts with label Crafting. Show all posts

Thursday, 21 July 2016

A Summertime Project

A few weeks ago I treated myself to a Modern Watercolour workshop with Emma Block, a Saturday filled with inspiration - from the stunning surroundings of The Forge in Bristol where it was held, to the sumptuous shared lunch and of course the teaching.
I'd had my eye on a workshop with Emma for some time but living in Cardiff, the usual location in London just seemed too far. So when a date came up in Bristol I had my fingers crossed that we'd be free (and that Sam would say yes to going solo for the day!)
I'm a huge fan of Emma's work and style of Watercolour and loved her natural, laid back teaching and encouragement as we all got to grips with it. As only a professional can, she made it look so effortlessly easy to do, needless to say even after a day I was only JUST getting to grips with colour mixing!

With the Summer holidays upon us and a busy/questioning/time demanding/fun seeking four year old on my hands everyday, I've decided to start 'a summertime project' to help me practice what I leant that day and find moments of calm that are just for me. The garden is BLOOMING at the moment and my project is simply to paint one flower every day (read, as many days as possible.) Whether that's painting it picked and sitting pretty in a stem vase or sat on the grass next to a towering bush of dahlias.
Last night after our first day of the school holidays, just after bedtime I snipped a pale pink and pistachio hued hydrangea from a pot on our patio. I sat at the desk in my room, warm from the day's sunshine, opened up a brand new sketch book and tried to remember the tips Emma had given us.

I've already forgotten so much of what I learnt that day but I'm hoping that with daily practice I can hone some Watercolour skills and enjoy a few mindful moments to myself.

I don't want to be too precious about the pages in my book (easier said than done for a perfectionist) and will give myself a chance to make mistakes, find my own style and find out what works for me. As you can see from my attempts below, some things have worked out better than others - the painting bottom left looks more like an abstract bunch of nipples than delicate hydrangea blooms (hence the Instagram cover up!)
The slower pace of summer months give us a great chance to turn attention to things we otherwise don't have time for. Whether that's painting the shed, starting a book that's been gathering dust on the shelf, making jam, planning a special celebration or perfecting the art of tomato growing.

Do you have a summertime project you're already working on or would like to start? I'd love it if you joined me in sharing what you're up to. I'll be sharing my watercolour progress on Instagram using the hashtag #asummertimeproject, please do feel free to tag your posts too. Let's find time in these halcyon days to celebrate creativity, learn a new skill or two and inspire one another in the glorious summertime ahead (rain or shine!)

As always, thanks for reading. X

Wednesday, 25 May 2016

Five Steps To Five Bunches

When I pick a bunch of flowers from our green grocers, the garden or, thanks to Bloom & Wild, receive them through the letterbox, I like to spread them across as many rooms in my home as possible. A room just feels different with fresh flowers in don't you think?

So when The Florence arrived this week, that's exactly what I did.
I challenged myself to stretch just one bunch of beautifully wild and whimsical flowers across 5 different size containers. Here's how I did it.

1. I laid out the bunch to see what flowers and foliage were included.

2. I selected different size vases to suit the flowers and foliage.
3. I worked out what type of bunches I wanted. I went for a wild bunch, a bright bunch and something that had as limited a pallette as possible.
4. I tried to stick to a 'two thirds' rule as much as possible.  A little trick I picked up at the SISTERHOOD CAMP (oh so much to tell you!) which suggests that you should have two thirds flowers, one third vase so they look in proportion. You can turn this rule on it's head and have smaller blooms, so long as the vase is roughly two thirds bigger. Keeping to these general proportions is the key (I hope I've managed it!)
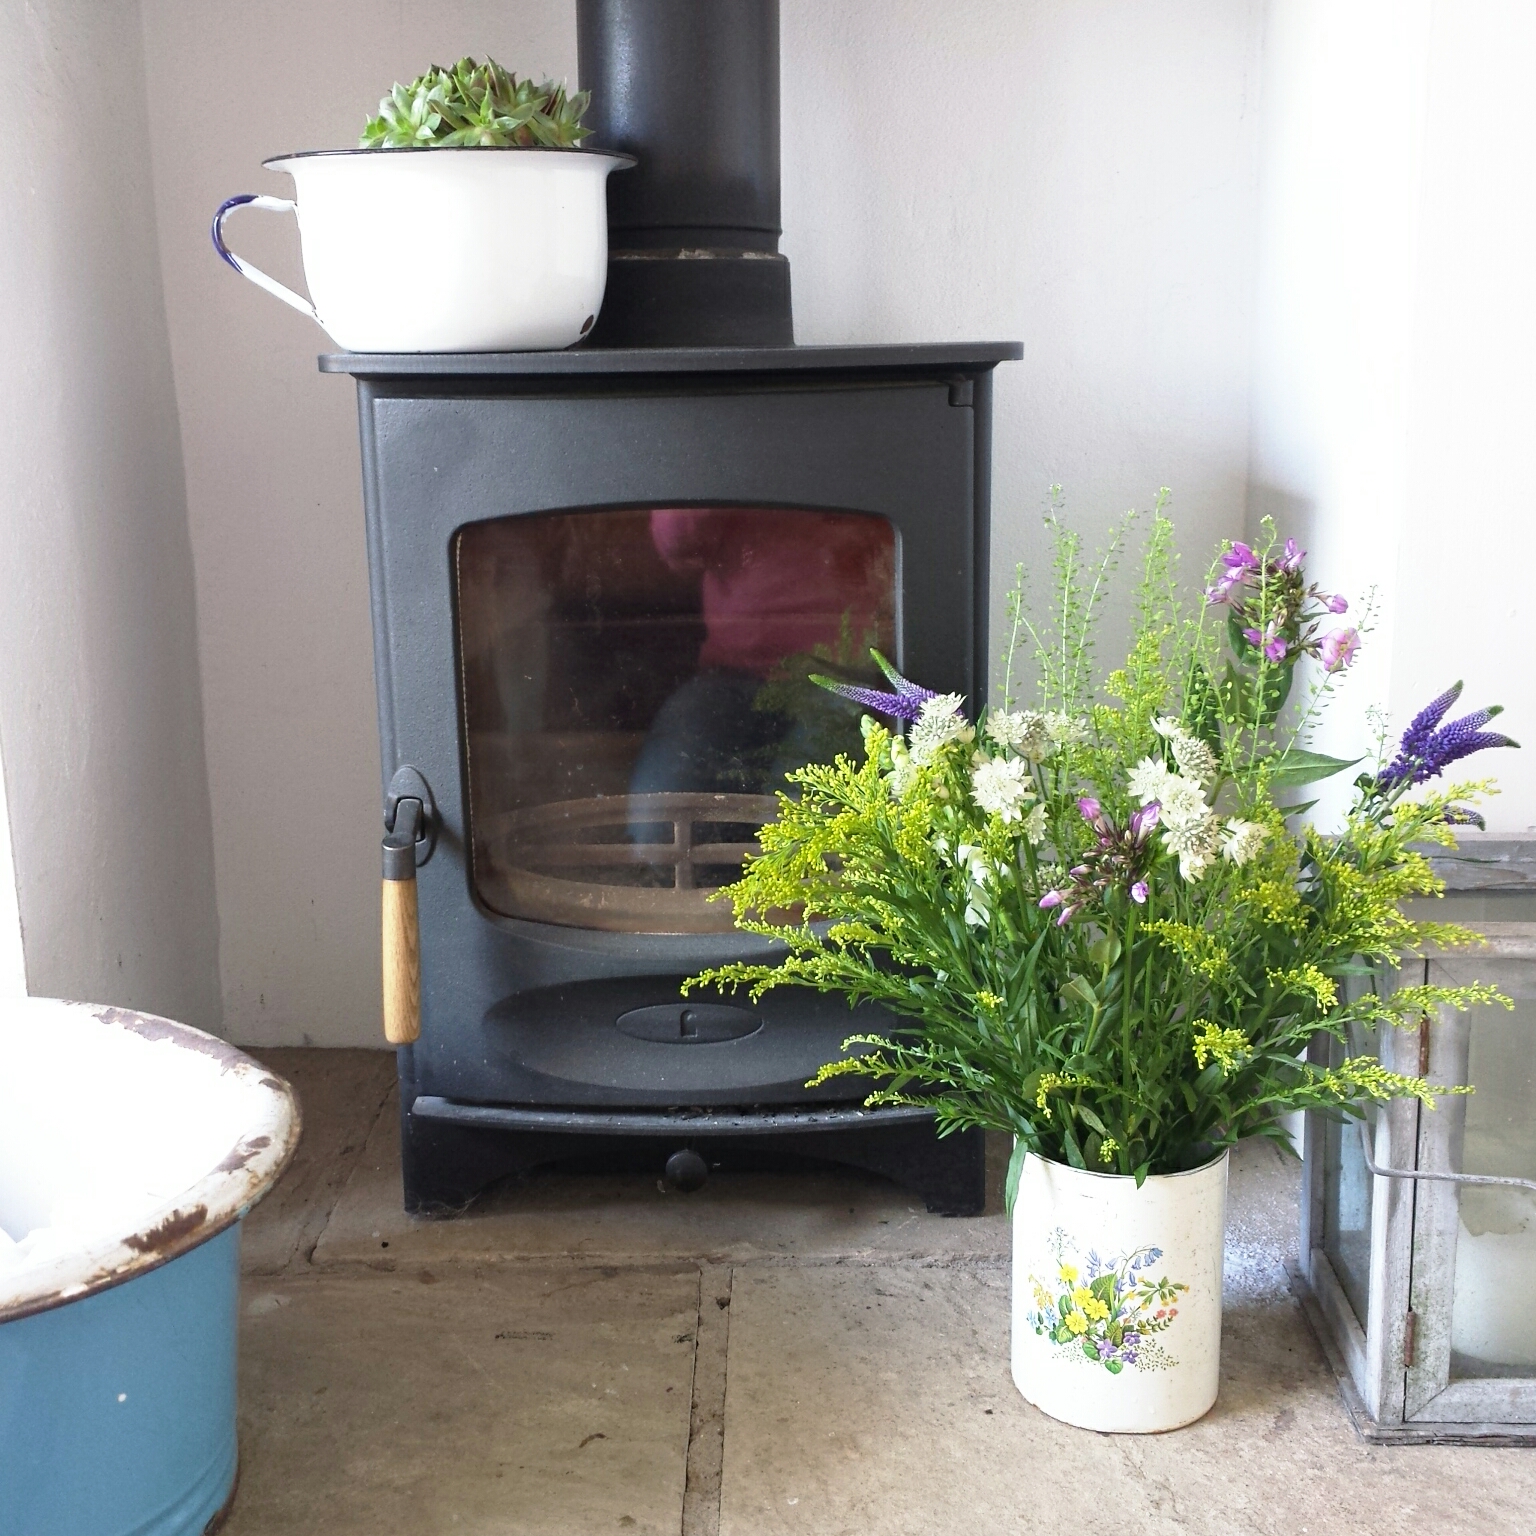
5. I found homes for the blooms around the house. This bunch found a home by our fire but was quickly moved to enjoy in my office.
The Florence has been created to celebrate The Chelsea Flower Show. It's wildflower feel is the perfect nod to the great British garden. It's available to order until June 17th so if you want to give this 5 vase challenge a go too, hop over here to snap yours up.

As usual we have the show on series link and are enjoying catching up in the evenings this week. It's always a great inspiration to get out in the garden! Have you been watching too, which show garden is your favourite so far?

Friday, 31 July 2015

Scented Playdough and Miniature Gardens

On Monday morning Wilf and I set about making something I've been wanting to make for ages. We made playdough. Not just any old playdough though, it was playdough which later on would form the base of the most beautiful miniature gardens I've ever seen.
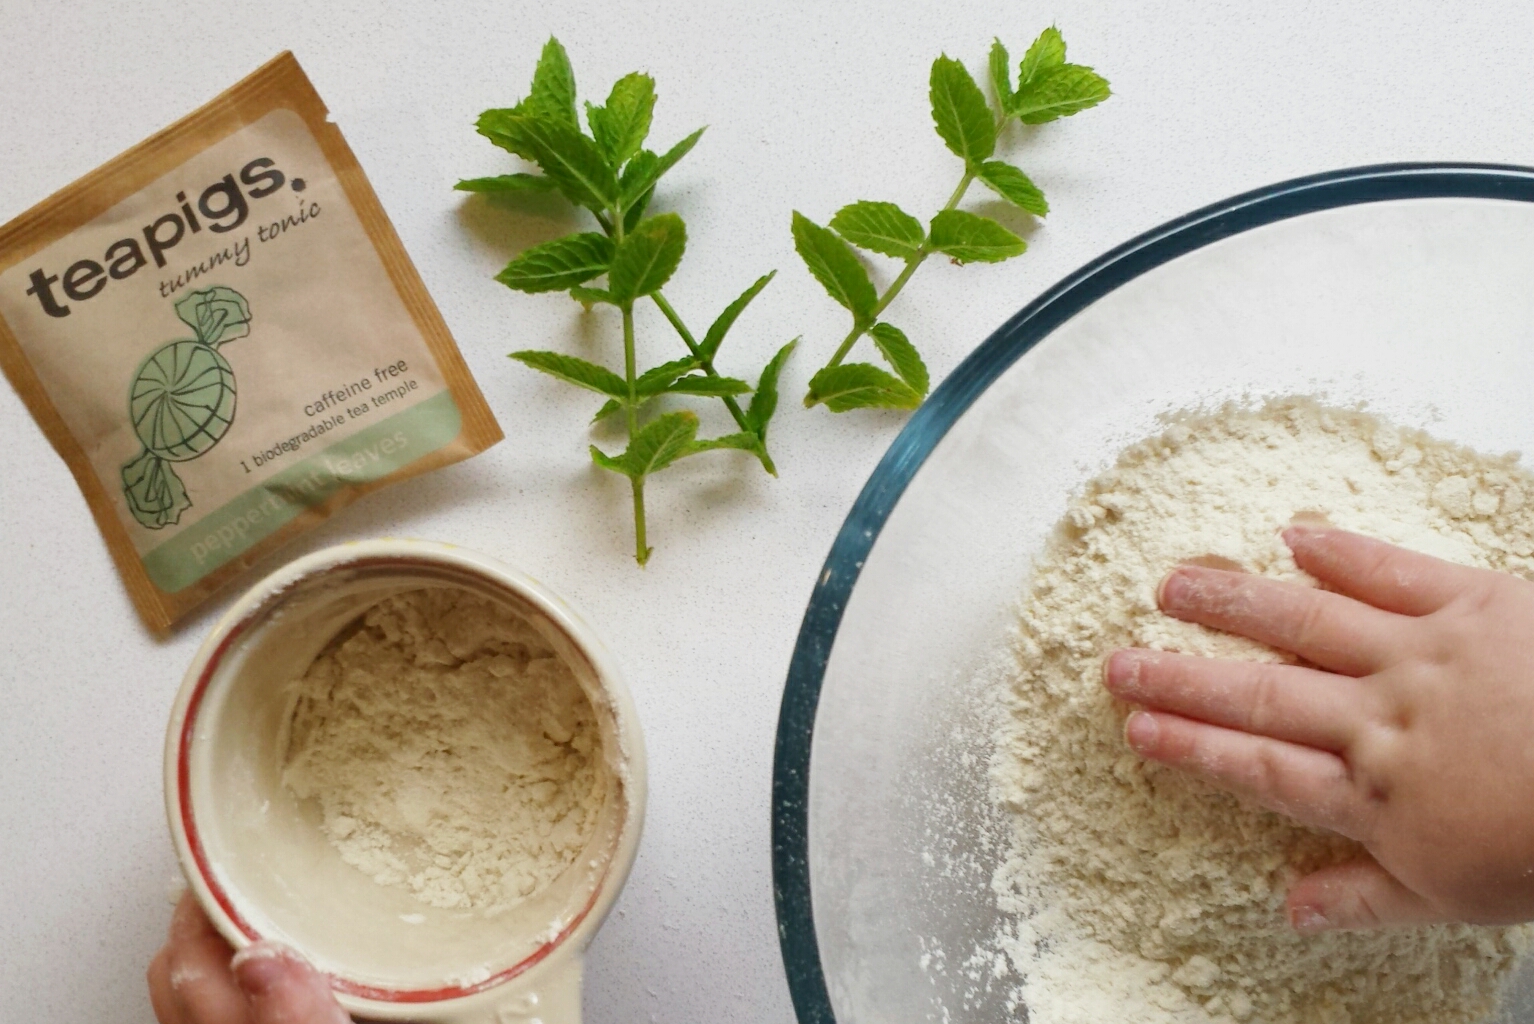
I remember playing with homemade playdough as a child and used to love it, there's something about the salty feel on your hands after using it. We have plenty of dry, mixed up pots of shop bought playdough already but I fancied having a go at a scented, more natural dough. I found a SUPER easy recipe for fresh Mint dough from The Imagination Tree (which you can find here),  got a Peppermint Teapigs bag out the cupboard and popped the kettle on.
The playdough itself was really quick to make and Wilf enjoyed helping to knead the dough after it was mixed.

In the afternoon, when his sister was sleeping, we headed out into the garden to find flowers and foliage to stick into it. Obviously rocks and stones were gathered and added to the trug for good measure too.
We then set about rolling balls of dough and crating miniature gardens with our cuttings. I have to admit I did close my eyes at one point and pretend I was a lady from the WI in a flower arranging class.....
Amongst our cuttings were sprigs of Thyme, Rosemary and Sage as well as Sweetpeas. Along with the Mint that I'd added to infuse the box, the smell coming from the table was amazing.
My Mum visited later that day and was presented with her own garden to take home with her. I'm not sure how long the poor flowers lasted in the salty 'earth' but they left the house looking very pretty.
It was such a simple activity but one that I'm looking forward to recreating in different guises time and time again. Next time I'm getting the glitter out.
I've shared a photo from this post over on Instagram with the hashtag #summerholidaysideasswap
If you're on it, I can recommend a browse of the gallery for some great ideas.

Thanks for reading today, I hope a wonderful weekend awaits you. x

Tuesday, 24 March 2015

Happy Egg Hats

Morning,

I posted last week about the brilliant Happy Paper Club box that I received last weekend. In it was an exclusive 'Make Me' card, a clever idea to jot down 'how to' instructions which you can share with a friend. I thought it'd be nice to share one of these cards with you for a little activity we did yesterday.

With Easter just round the corner I decided it was about time we opened up the craft box and got down to some seasonal fun. So whilst a certain little lady had her nap, Wilf and I had a go at making some egg toppers or 'hats' as we ended up calling them. 

 A selection of bright paper and some Spring time trims and tape. He couldn't wait to get his hands on them!

If you're the parent of a child who goes to nursery then, like me, you probably have a great collection of paintings and pictures. Wilf runs towards me most weekday afternoons clutching a few A3 pieces of paper decorated with coloured paint. I'm always trying to find ways of 'upcycling' them into something (birthday, thank you cards) as I can't bear to throw them away!

I decided to cut out some circles from one of these 'masterpieces' and use them for out hats.

I had to add an initial for each of us so we know who's egg is who's! I nearly fell off my chair when Wilf said 'W' when I wrote it out. I didn't realise he knew it, those alphabet cartoons are obviously sinking in!

A colourful collection of very mini party hats and some happy eggs! They were loads of fun to do and Wilf loved choosing the colours and decorating each one. 

We made party hats for his birthday party last year and the method was exactly the same as this, just on a much larger scale. Bigger party hats are great fun to do, again Wilf decorated each piece of card and I then spent an evening with a glue gun adorning them! 
Here's a few other photos I posted on Instagram at the time. 

They're lovely to keep and we'll reuse them as much as we can until they fall apart/ get so covered in party food that we have to make new ones. 
This was taken at Anwen's birthday party this month. Her party guests loved picking out a hat to wear for the celebrations.

So, without further ado, here's how we made them:

So, they you are, some ideas for some very mini hats as well as some for slightly bigger heads. I hope you can make out my writing and the instructions on the 'Make Me' card! I'd love to see your photos if you have a go at making some this Easter.

Before I go, I love how the happy eggs look in these Buddy and Bear egg cups! They look like they're having a little party. They're available to buy in the little maldod shop so if you like them too, you can find them here.

Thank you so much for reading today. 
Have a brilliant Tuesday! (eggcellent pun duly avoided...)

Love Lowri x

Monday, 23 March 2015

A Spring bunch

Hello,

It really felt like Spring had sprung over the weekend, I hope it did with you too.

We enjoyed a rare weekend with only a few things planned and lots of family time and it was just lovely. We spent Saturday morning at the allotment and it felt so good to be outdoors, enjoying the sunshine and fresh air together.

Yesterday, we were invited round to some friends who live on our street for Sunday lunch. I always like to take a little something with us and decided a hand-tied bunch of Spring flowers would do just nicely. I thought I'd share a few photos I took while I was putting it all together.


I chose a selection of flowers from my local grocers (above), it always has such a great variety and I was spoilt for choice yesterday. I went with Tulips, Hyacinths, Freesias (for their beautiful scent), Wax Flower and these tiny Dafodils (which have a special name that I've now forgotten!)

I was excited to use my new scissors, given to me by my clever children (ahem!) for Mother's Day. They're a delight and perfect for snipping!
 
Can you spot the signs of a little helper having visited the table?!
I stamped onto a brown tag and tied it on to add a little extra something to say thank you.


I hope these flowers have brightened the start to your week. Wishing you all a wonderful, colourful and happy Monday.

Thank you for stopping by,
Lowri x 

Friday, 13 March 2015

Unexpected creations

Last night after putting the kids to bed I headed straight into my work room to crack on with making some bunting for Anwen's first birthday. If you're creative then you'll know what I mean when I say how enjoyable it is to 'go with the creative flow' and make things according to what inspires you at the time.

I have to say though, last night when I was rummaging through my fabric stash I felt thoroughly uninspired by what lay in front of me. Don't get me wrong, I love the fabrics I've collected but at that moment despite the colours, the prints, the patterns, nothing caught my eye and made me want to make with it.

Until I found this.

I bought this fabric last Summer and just love it. I love the playful images and vintage style and it fits in beautifully with the Belle and Boo theme I'm planning for Sunday's tea party.

Feeling tired after a long day I decided I just wanted something that would be quick to make and add a special touch to the celebrations. However I couldn't shake a nagging feeling of wanting to make something that was personal to Anwen and that we could reuse each year. 


The little girl carrying balloons caught my eye, it reminded me of me as a girl and I can just imagine Anwen marching about like that on her birthday in a few years time! So keeping it simple, I cut out the image, printed an 'A' on a balloon and embroidered it to a plain canvas. I keep a stash of white frames so had one to hand to finish it off nicely.


I think I'll put it on the table next to the cake so it can be seen by her party guests, it can then go up in her bedroom as a little momento.

A party isn't complete without bunting in my book though so I cut out some mini flags from the same fabric and added a few extra colours to brighten it up.

Perhaps I'll manage to make some personalised bunting for her next birthday but in the meantime I'm happy with these unexpected creations and am sure they'll be treasured for years to come.

Thanks for reading today. I'll be back next week to share details of some exciting new arrivals coming to the shop!


Before I go, to celebrate Mothers Day this Sunday you can enjoy 20% off everything in the Mama and Baby range from now until Sunday. Just use the code Mama at the checkout.

Have a wonderful weekend.

Lowri x 

Tuesday, 10 March 2015

Celebrating a Year

Evening friends,

I hope you're having a good start to the week and enjoying the Spring sunshine.

March is a birthday month in this family and next week there's an extra special birthday coming up. My baby girl turns one on Monday (sob!) It sounds so cliched but I really can't believe how quickly the year has gone. In what feels like a flash, my newborn daughter has grown into a cheeky, affectionate little girl who is trying her hardest to walk and talk and copies just about everything her brother does!


For Wilfred's first and second birthdays I decided to make a photo timeline of special moments and milestones taken throughout the year before. With a slight (ahem) fondness for Instagram I had plenty to choose from and they made a lovely display in our sitting room over the weekends that we celebrated. Unbelievably I didn't get a photo of them displayed (shame on me!) but here's the bunting on his first birthday.


I've decided to do the same for Anwen, this time printing them in a larger polaroid style format, using the Polagram app. I was really impressed with the quality and how easy it was to use and its now uploaded on my phone for good (possibly a risky move on my part!)

I'll use mini wooden pegs to hang them to ribbon in chronological order and annotate them with the odd description here and there. I'm also planning to make some personalised birthday bunting which I'll be pulling out every year until I'm told its too embarrassing (although I'm not sure that'll stop me!)


We're having a very small tea party with a Belle and Boo theme and a vintage twist, thanks to some old invitations given to us by my Grandparents - in - law. I was tempted to use them but couldn't face writing on them so may frame them and use them for decoration instead.

Here's my little mood board which is inspiring me this week and reminding me to get organised as the week is flying by too! 

I'd love to know if you have any special ways of marking the passing years on your Children's birthdays.

With love,
Lowri x

Friday, 17 October 2014

My Stocking Bicycle

Morning,

Happy Friday friends.

Just a quick post today, I don't normally write my posts when the children are awake and I've just remembered why...... The tune of Bob the Builder doesn't exactly help the thought and writing process.

But I wanted to pop by and tell you about some plans I have for some lovely stockings.

I opened up my fabric stash the other day and had a good look through at the huge range that I've accumulated over the last year or two. I'm terrible for buying fabrics and taking ages to actually use them for something. However I'll often place a couple along side each other and match up patterns and colours that I think 'work' together.


The other night I hopped back on my stocking making bicycle (took me a while to remember how to make them but appears its like riding a bike!) I made the stocking you can see in the picture below. Its a lovely size, lined with a mint green polka dot and has this gorgeous 'children at play' fabric.

She reminds me of me as a girl!

I loved the process of choosing the colours and making up something with fabric I've been saving for something special. So, I've decided to make up some other stockings like this for the little maldod shop. I'll make up one or two more of the stocking you can see above but as I have a limited amount of the fabric there'll only be a couple available. I'll then make up some more in other fabrics I like together.

Unlike the other products in the shop which are made to order, these stockings will be made up and then added to the shop. This means they won't be available for personalising but can be popped in the post to you pretty promptly.

Below is a small selection of fabrics that I like, not necessarily that Christmassy but I think they'd look great as stockings! Which are your favourite?


The designs of each of these stockings will be limited and I'll pop photos on the little maldod social media pages as and when new stockings are added. So if you see one you like be quick as they might not be around for long. 

Large personalised stockings will be available again this year as well as mini stockings which will be great for hanging on the tree and popping a chocolate or two in.

I'm hoping to have the Christmas stock photographed and added to the shop at some point in the next week or so. I'm looking forward to sharing it all with you. 

Right, off to turn off Bob and get ourselves out of pyjamas......

I hope you all have a lovely weekend!

Much love,
Lowri x